Duluth artist Dorian Beaulieu combines his love of ceramics, creativity & education for the benefit of students at Lake Superior College. He has a true passion for learning and sharing his gifts with all he encounters.
Wood Fired Raku
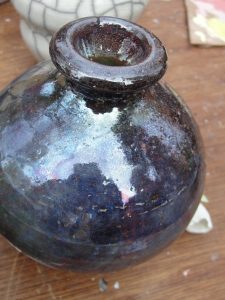
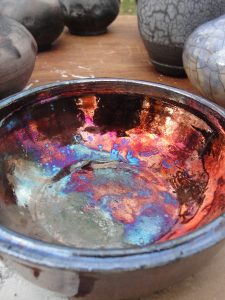
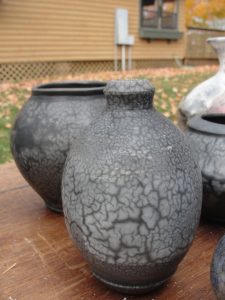
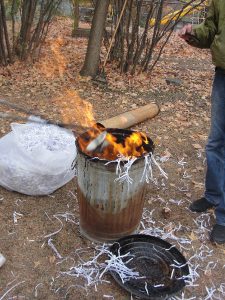
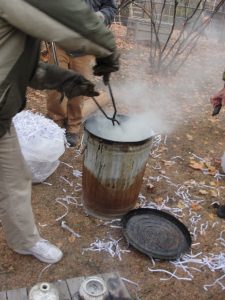
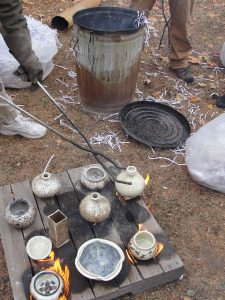
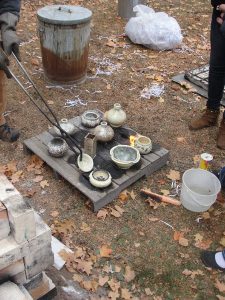
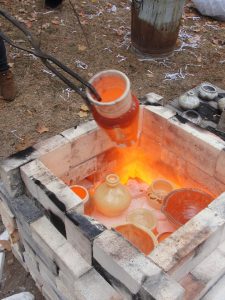
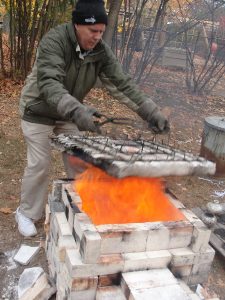
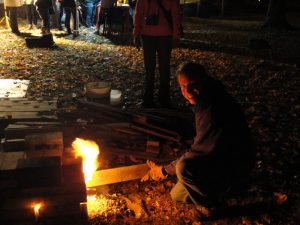
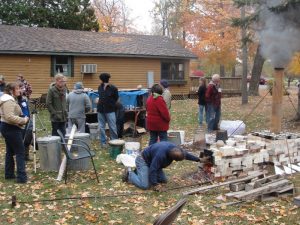
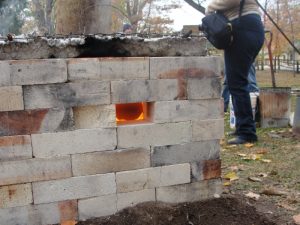
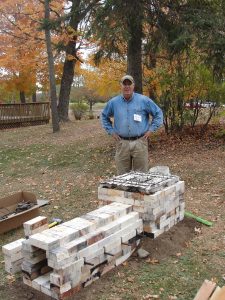
Dorian Beaulieu with the assistance of David Beaulieu put on a two day wood fired raku workshop in Deerwood, MN on the 8th and 9th of October.
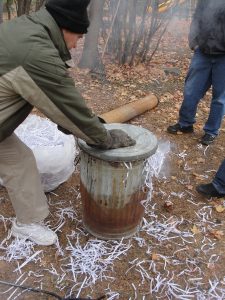
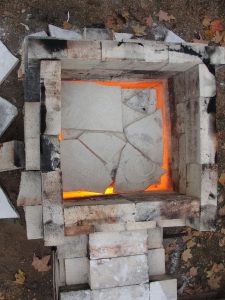
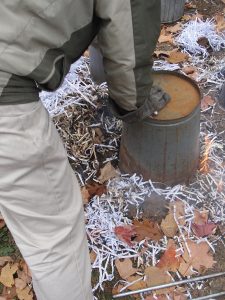
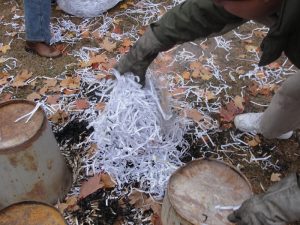
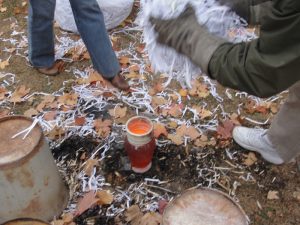
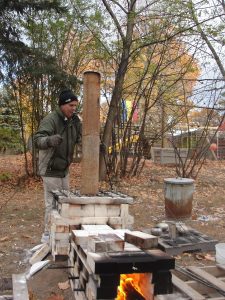
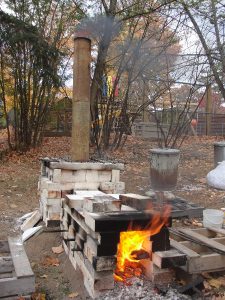
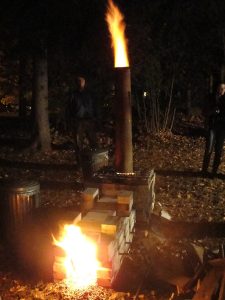
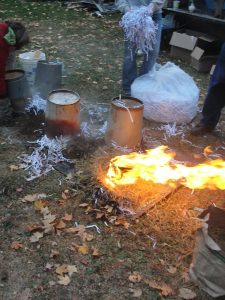
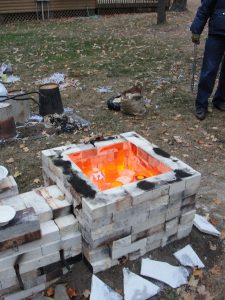
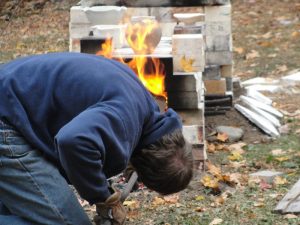
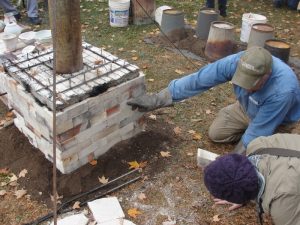
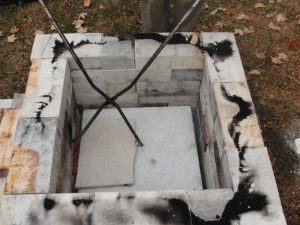
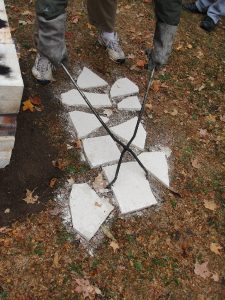
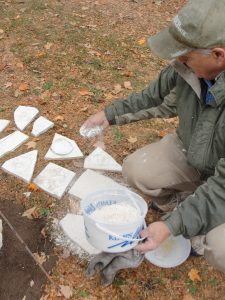
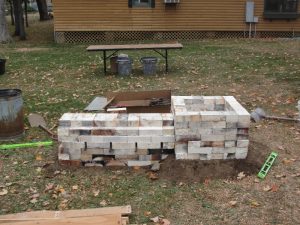
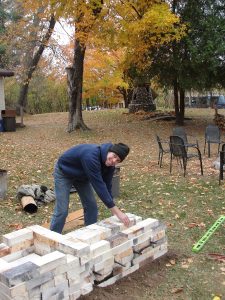
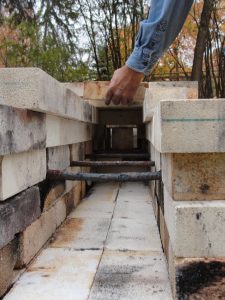
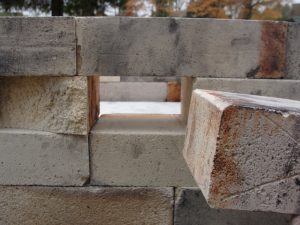
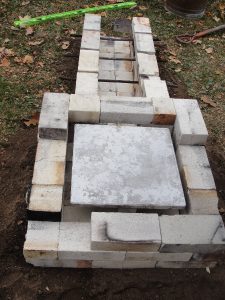
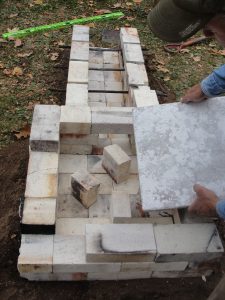
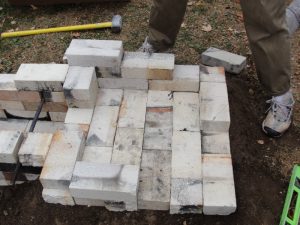
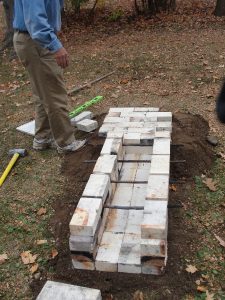
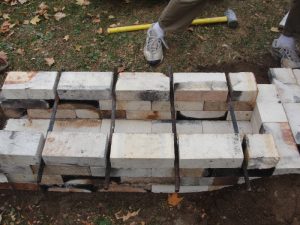
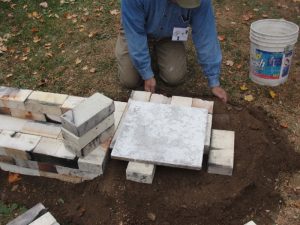
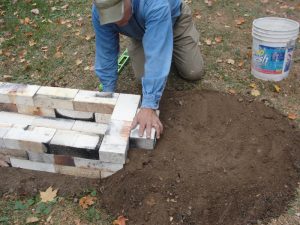
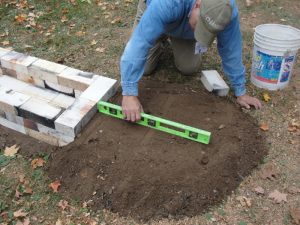
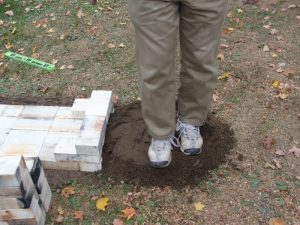
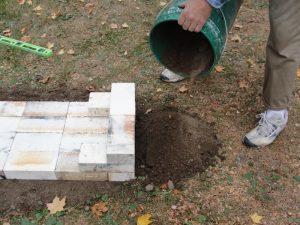
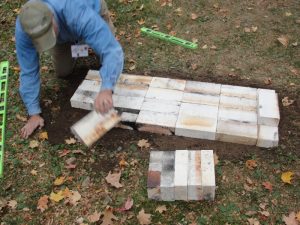
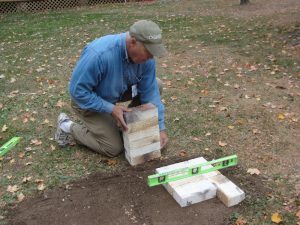
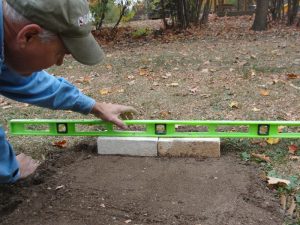
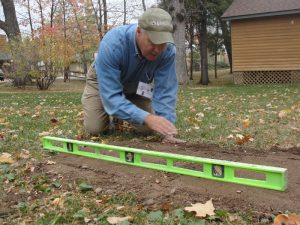
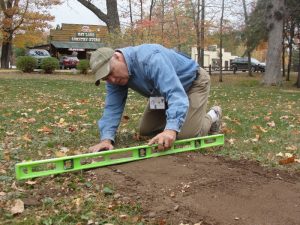
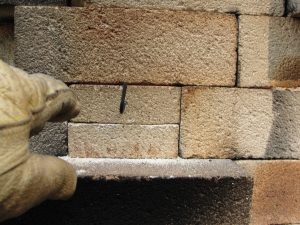
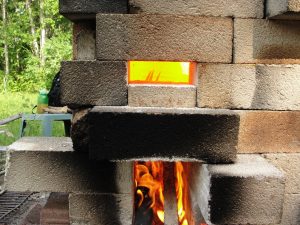
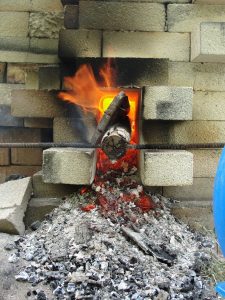
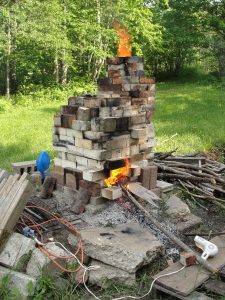
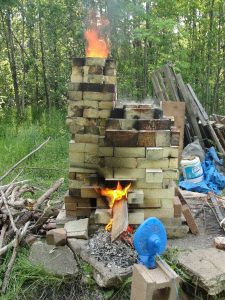
The air was filled with excitement when we showed up with everyone bustling to get things ready for the first day of workshops. Dorian and I started unpacking the kiln from the van. The entire kiln fit easily into the mini-van and within a couple of hours we had the kiln all setup and ready to fire its first load of pots. The kiln is extremely simple and with little knowledge can be built just about anywhere. We hunted for dirt to level the ground and if you look at the last picture on the bottom you can see the area after we cleaned up on the third day. Not a trace was left!
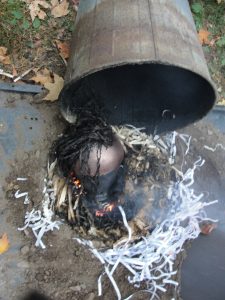
The kiln heats up very fast and within a couple of hours we had the first batch of raku pots out and soaking up the carbon. After the first firing it only took about 45 minutes for each additional load to come out. Nothing like using free wood to produce heat! Pallet wood is easy to find and free which works very well with this kiln design. Contact us if you would like additional information or if you would like us to put on a workshop at your location.
Happy Firing!!!
-David Beaulieu
Ash Glazes
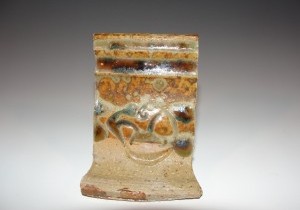
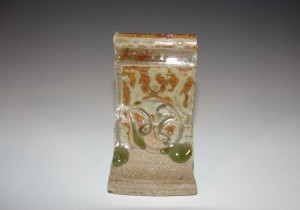
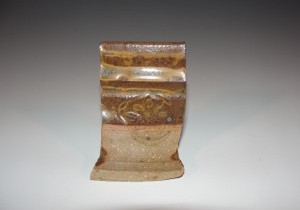
Last year I started to use an ash glaze and really liked it. I have been doing some testing to change the color and I have been testing out other ash glaze recipes.
All of the test tiles are stoneware. They were fired in a gas kiln to cone 10 (2350 F). Each test tile was dipped once and then a second time halfway down.
Base Ingredients
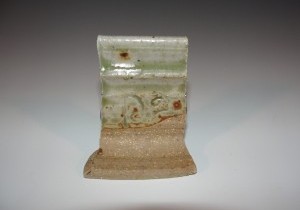
- 31 - Whiting
- 24 - Kentucky Ball Clay
- 22.5 - Silica
- 15 - Oak Wood Ash
- 5 - Custer Feldspar
- 2.5 - Dolomite
Add the below colorants to base glaze
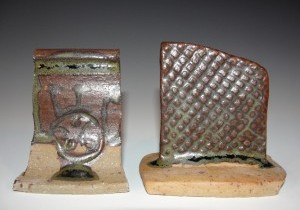
- 8 - Red Iron Oxide
- 3.8 - Cobalt Corbonate
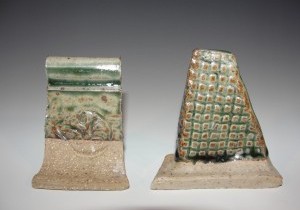
- 0.25 - Cobalt Carbonate
- 1 - Iron Chromate OR (0.5 - Red Iron Oxide & 0.5 - Chromium Oxide)
- 5 - Copper Carbonate
- 3 - Tin Oxide
- 1.6 - Copper Carbonate
Do not use the base ingredients and only use these two ingredients for this ash glaze.
- 50 - Red Art
- 50 - Wood Ash
Throwing a Platter or Large Plate
I have been making a lot of platters recently and I thought I should do a video. The video shows how I throw my platters and plates.
Some tips I have learned:
– Make sure to leave a good amount of clay (1/2 – 3/4 inch) on the bottom if you plan to have a foot.
– Throw with dryer clay and less water especially if you plan to have a wide flat lip.
– Let it dry upside right until the lip becomes a little stiffer than leather hard, then turn it upside down (make sure the center doesn’t collapse and if it does let it dry longer upside right and place it on newspaper or something that will help soak the moisture from the bottom) and let it dry until it is ready to trim.
Throwing a Mug
Mugs are what I make the most of and every single mug comes out different. I don’t tailor the mugs for certain people but rather allow the mugs to be unique and call out to each unique and individual person. Below are a few steps and tips to remember when throwing mugs.
– Throw using the COPS method (center, open, pull, shape) – I will combine steps to make it faster.
– Make sure the bottom is compressed and free of any extra water before you pull. Also, the bottom should be the same thickness as the walls unless you plan to trim the bottom later. I don’t trim my mugs but rather roll a studio foot.
– Use a metal or plastic rib to scrap any excess slurry off the outside of the vessel.
— This helps the outside to be smooth.
— You can shape the vessel while you do this.
— It helps when transferring the vessel off the bat immediately after being thrown (your hands have more grip so you don’t drop or squish it in the process).
– The lip of the mug is important because that is where you put your lips and you want the liquid to pour out without dripping. I use the skin between my ring and middle finger on my right hand to smooth and shape the lip as a final touch.
Trimming a Bowl
Watch and learn to trim a bowl from start to finish. Gather helpful insight whether you are a beginner or an expert.
Some tips when trimming a foot:
– Make sure the vessel is leather hard and is securely attached to the bat before trimming.
– Check the bottom while trimming with the bounce technique or sound check, you don’t want to trim through it! These techniques also work when trimming the side.
– Be creative, the foot is important and should complement the overall vessel.
Val’s LP Matte Modified Glaze Tests
I liked the look of this glaze and decided to test it out. The first picture in the table is the original glaze formula. The glaze is on both stoneware and porcelain. The test tiles were fired in a gas kiln to cone 10 (2350 F). Each test tile was dipped once and then a second time halfway down.
(I moved this over to a new site and haven’t had a chance to upload the images yet)
Mini Kiln Firing
I built a small simple wood fire kiln in my backyard that fits about 7 small pots. It is built similar to a Ken Olsen fast fire but it is much smaller and easier to fire. I decided to try a single fire and I am pleased with the results. It took 9 hours to get to cone 8 and I started with a wet kiln since it had rained the previous two days and the tarp fell apart letting in a lot of moisture.
Dorian Beaulieu – Educator of the Year 2009
“The award is an honor bestowed upon Minnesota State Colleges & Universities faculty to acknowledge and reward exceptional individual professional accomplishment, and to encourage ongoing excellence, in teaching.” Taken from http://botaward.mnscu.edu/ please visit for more information.


